- Mighty Giant: The Dengineers (Graphics from Series 2-5) -
Above: visual snippets of 'The Dengineers' graphics from series 2-5
Brief
I worked with Mighty Giant to create the graphics for the TV series 'The Dengineers', from series 1-5. After the first series, I was handed the reins for revamping and creating the den graphics for the next series, based on the first one. The style used for series 2 was then applied across the following series' (up to series 5).
The Approach and the Technical Challenges
At the time, I didn't anticipate working on multiple series'. However, I did anticipate working on multiple graphics for series 2: 11 'Den Graphics', and 11 'Engineering Graphics'.
A 'Den Graphic' would reveal the den, then show the various bespoke features it had to offer.
An 'Engineering Graphic' would focus on a unique feature of a den, then demo how it works.
So, I decided to create 11 scenes, in which each scene would have 2 sets of different animations: one for the 'Den Graphic', and the other for the 'Engineering Graphic'.
Each of these scenes needed to be consistent in style, and required a rather specific visual aesthetic which went beyond simply applying materials and using toon shaders.
I had a strict schedule to work to, and couldn't spend too much time modelling the dens.
I also had to keep the dens simple enough to accommodate for any potential changes.
So, simply put, I created a set-up that transformed any geometry into the style we needed. The set-up generated sketched lines based on the edges of the geometry, which favoured geometry with fewer lines (i.e. low-poly geometry).
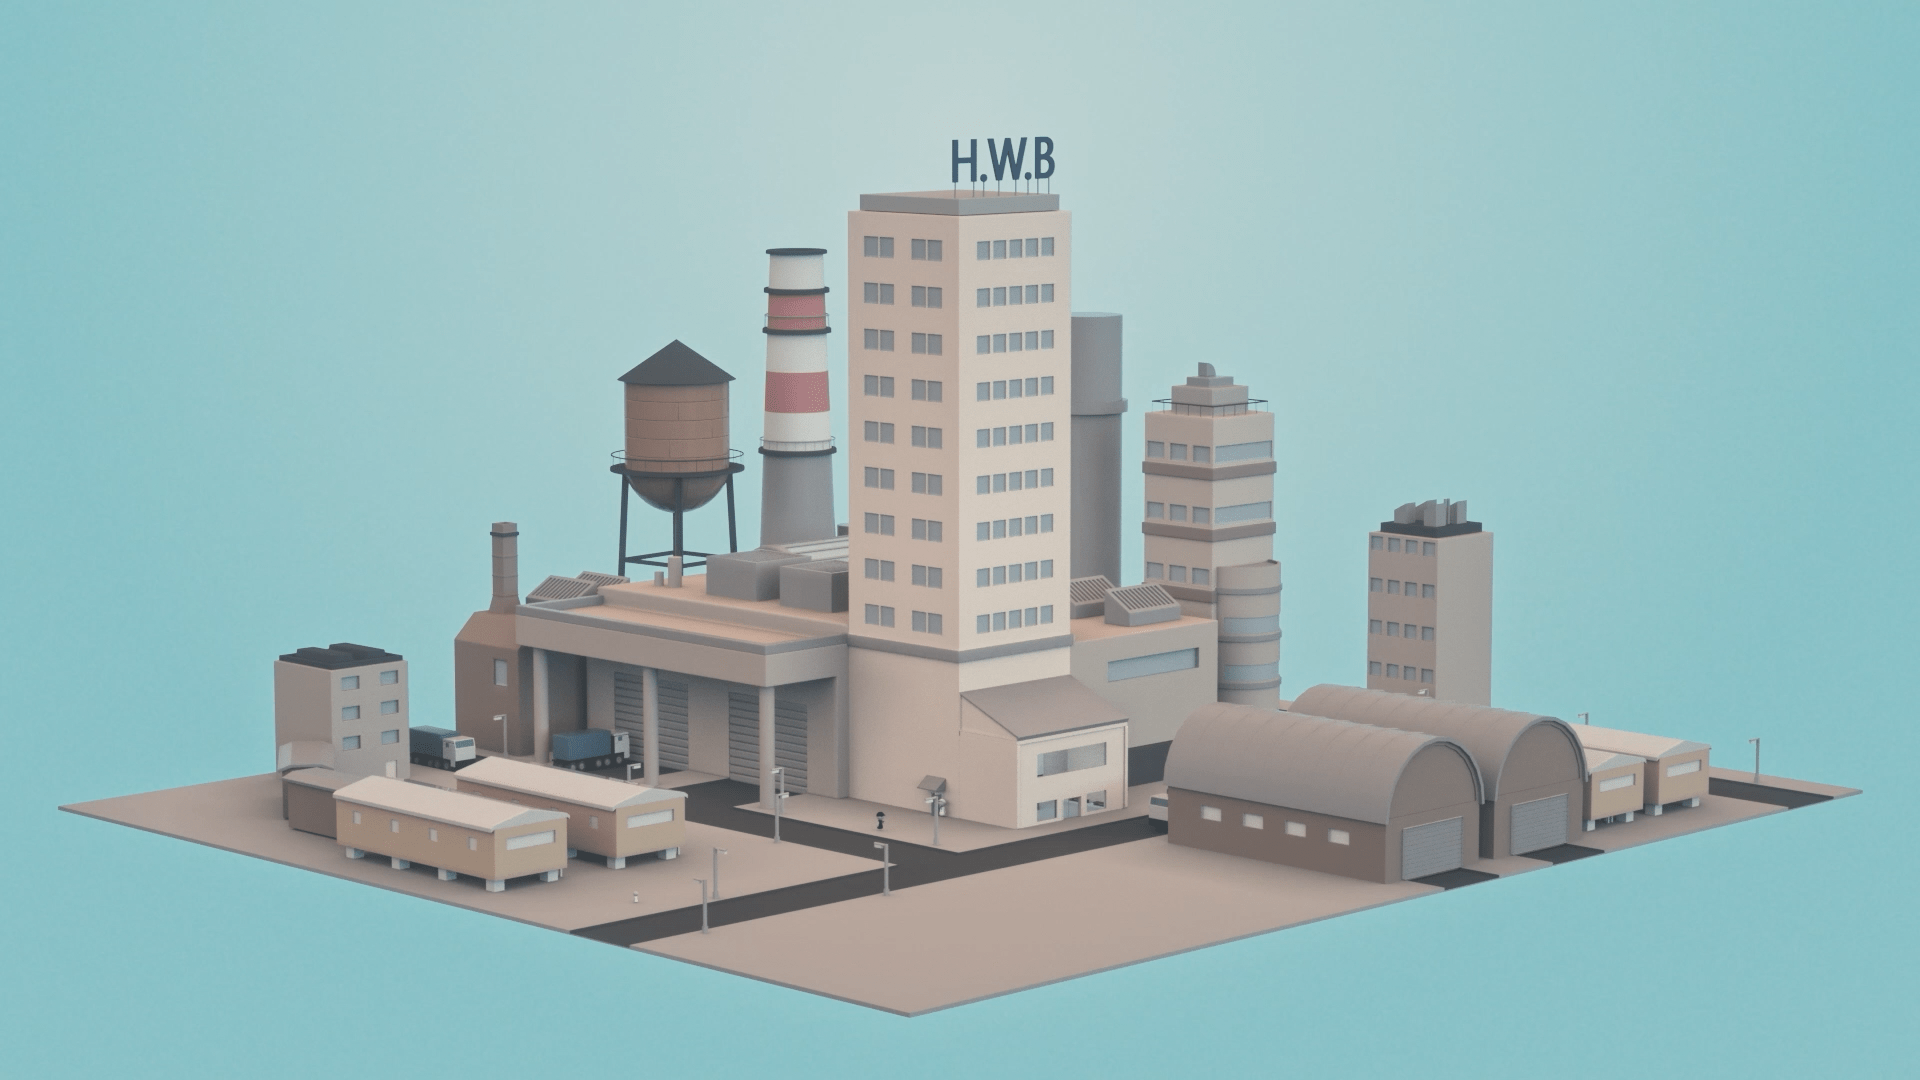
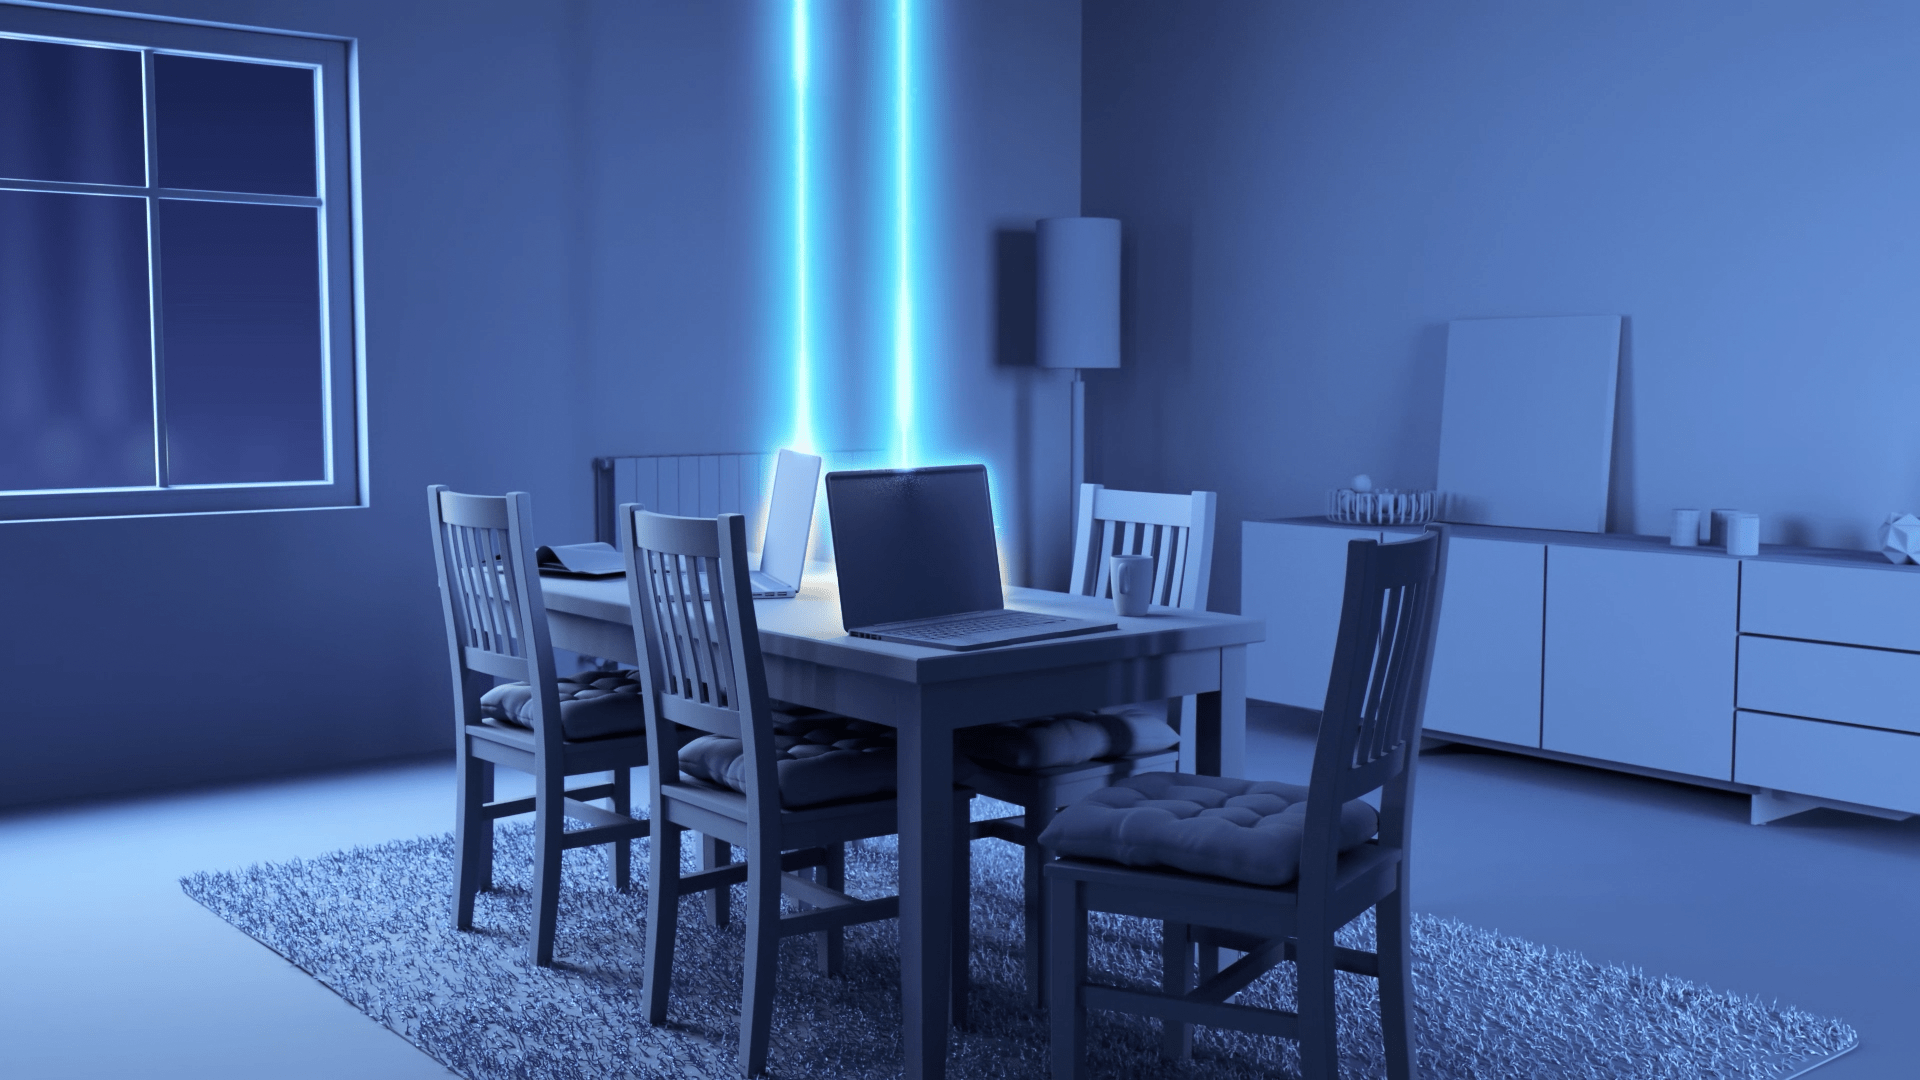
Above: Early test of the generative set-up, with placeholder visuals for testing purposes
New Technical Challenges
In theory, all the challenges mentioned above have been addressed - huzzah!
However, it introduced a rather unique issue.
However, it introduced a rather unique issue.
The geometry had to be modelled with as few lines as possible in order to avoid too many sketched lines appearing. This meant the den geometry had to be modelled using very specific techniques - otherwise, the polygons would either become the wrong shape or simply disappear… (I learnt a few very niche skills throughout this project!)
It didn't take long to adapt to the workflow, and so I was able to continue modelling the dens with relative ease.
Compositing
C4D was only part of the solution. I created various custom passes for each scene using the 'Take' system in C4D, which would then be comped together in After Effects. The passes would allow me to adjust the sketched lines, the shading, composite images into the photos on the table, and composite the background image into scene.
This allowed me to fine-tune the visual aesthetic of the den, as well as give me the freedom to swap-out the images in the background/photos in After Effects rather than bake them into the C4D renders.
Camera Work
We were supplied with VOs (voice-overs) which were to be used within each of the graphics, highlighting key features of the dens. I had to ensure that each of the graphics focussed on their key features at the exact times that they were mentioned in their VO.
This led to the use of wide-angle lenses. This allowed me to capture as much of the interiors as possible without them feeling cramped, as well as capture multiple important features within one frame without throwing the camera around.
Each 'Den Graphic' would be tested with an animatic before being developed, which would focus on the synergy between the camera moves and VO. In the case of 'Engineering Graphics', the engineering animation would also be included in the animatic.
More Information
Additional info about the project can be found here:
- https://mightygiant.co.uk/work/dengineers4/
- https://mightygiant.co.uk/work/3d-fly-through-dengineers
- https://mightygiant.co.uk/work/dengineers4/
- https://mightygiant.co.uk/work/3d-fly-through-dengineers